Inventory
Go to Inventory-Assign Item
Start to type users barcode or name and select user from list
- Check Out Item
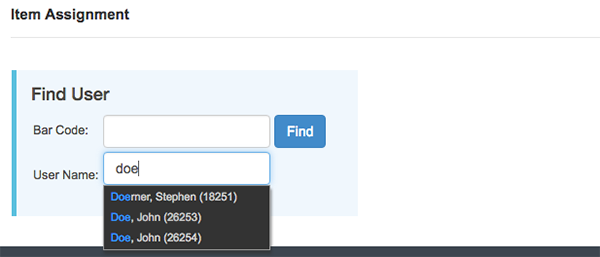
Start to type item barcode or name and select item from list
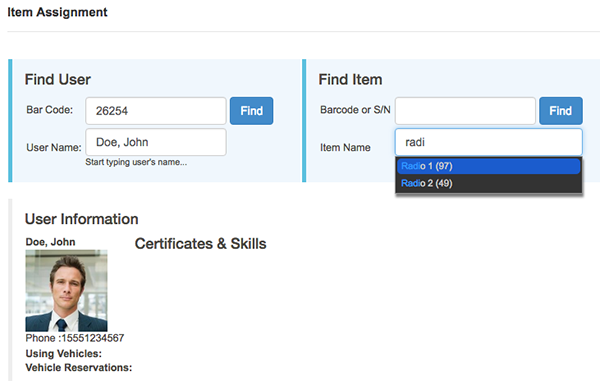
Click ASSIGN button to assign equipment to user
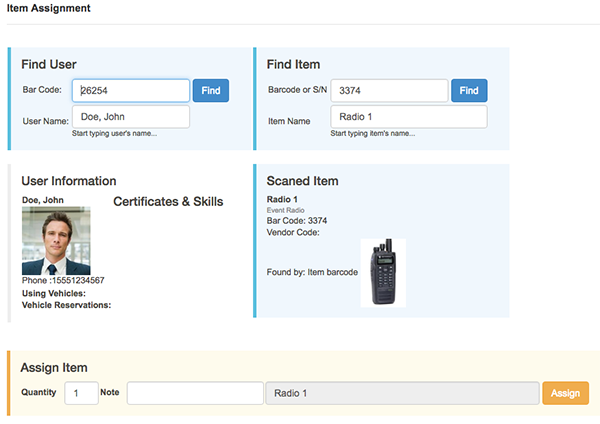
Item is assigned to user
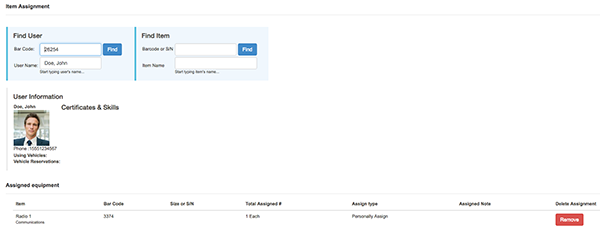
Go to Inventory-Check out Item
Start
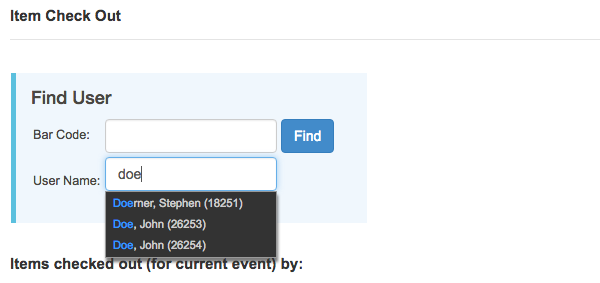
Check
-
out previously assigned item
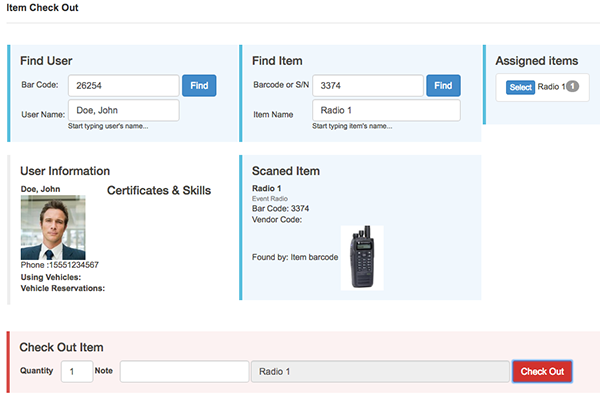
Click
-
CHECKMyOUT buttonTeam
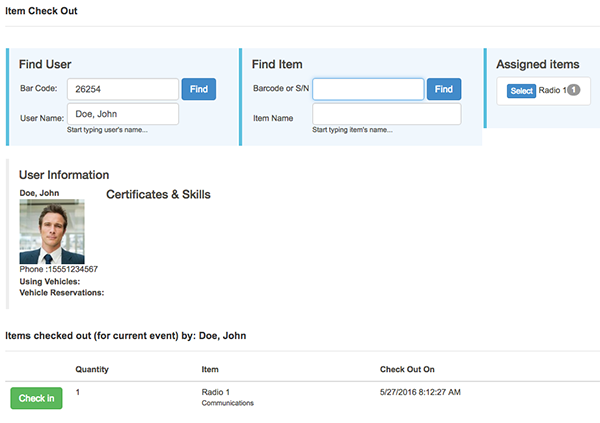
Assign and Checkout Item
Start to type item barcode or name and select item from list
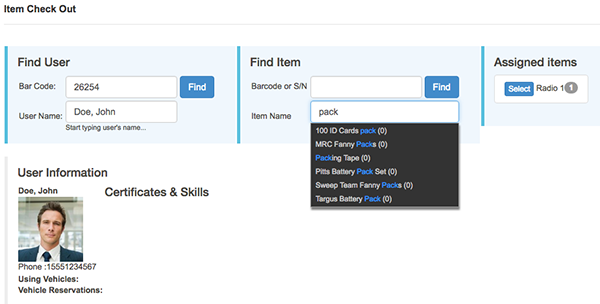
Click CHECK OUT button
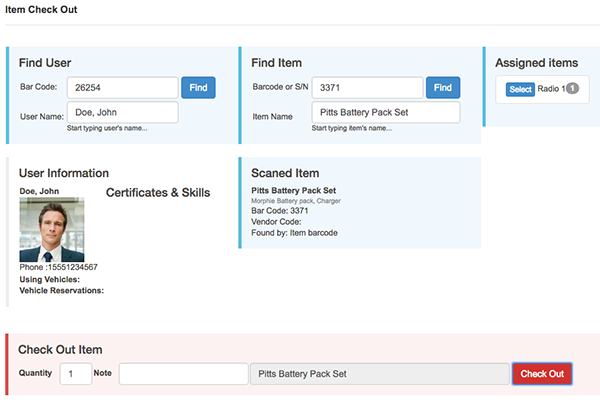
Item is Checked out
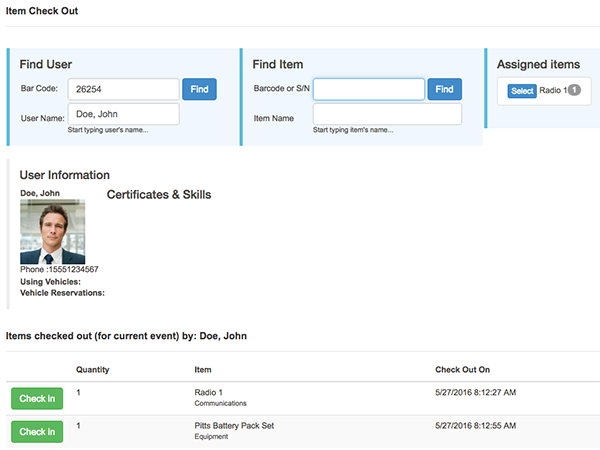
Check In Item
Go to Inventory-Action-Check In Item
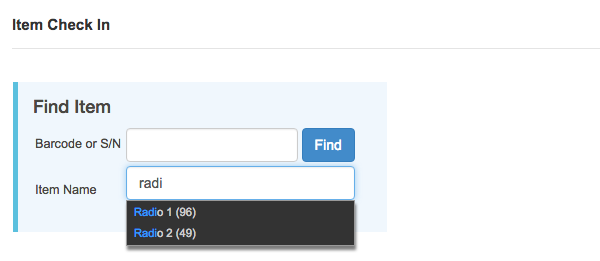
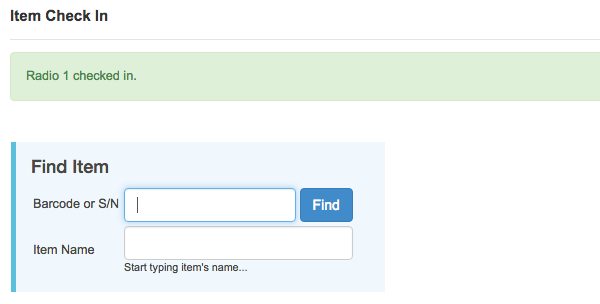
Start to type item barcode or name and select item from list
Find item you want to Check in and click CHECK IN button
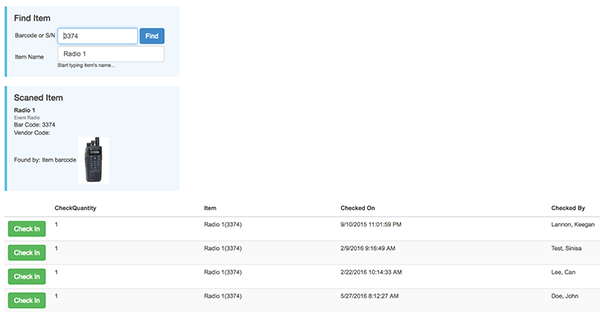
Item is Checked In
Item Distribution Types
Go to Inventory-Inventory Items-Items distribution categories

Click ADD NEW DISTRIBUTION TYPE button

Enter name and click SAVE button

Add Items to Distribution Type
Drag and drop items to the desired storage

Items are added

Go back to Inventory-Inventory Items-Items-Distribution Types and click Distribution type to see details

Open REQUEST PROCESS tab.
Enter process start and end dates.
Check the checkboxes to allow groups to make requests for selected Distribution Type
Click SAVE REQUEST DETAILS button

Open AVAILABLE ITEMS tab to overview or remove items for selected Distribution Type

