MPTS
MPTS is module of EMOS1 used for real time patient and medical infrastructure monitoring on event day.
MPTS consists of:
- Mobile Application, deployed in medical tents and aid stations, used for submitting real time information about patients and medical unit status
- Central Monitoring Module for collected data processing and presentation/reporting.
SETTINGS
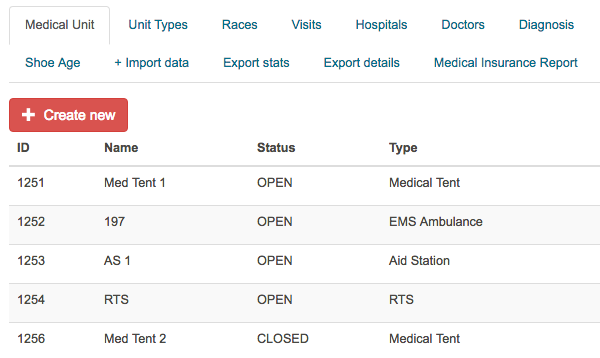
Medical Unit
Overview existing medical units
Create New
Click CREATE NEW button
Enter Unit's Details
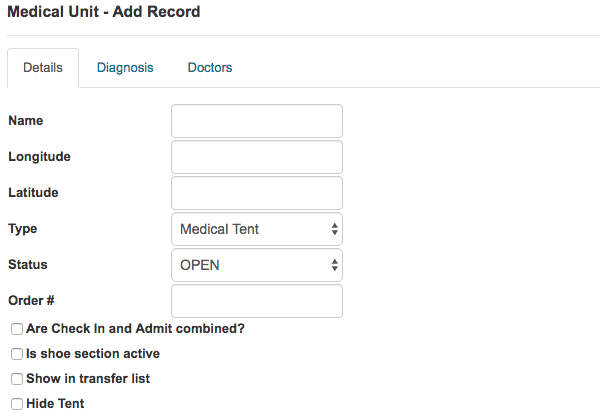
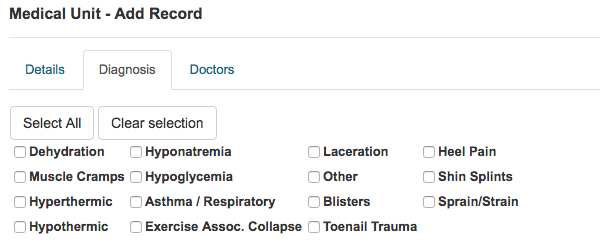
Select Diagnosis which can be treated in this unit
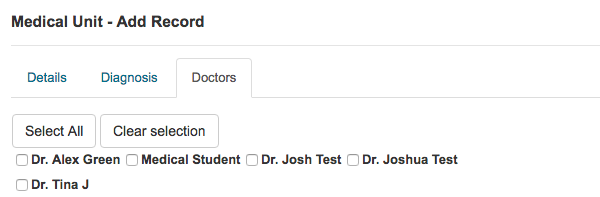
Select Doctors for this unit
Click SAVE button
Unit Type
Overview unit types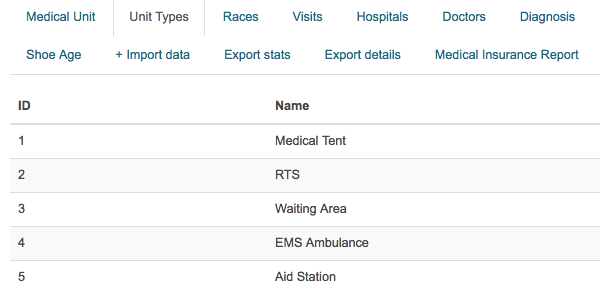
Races
Overview races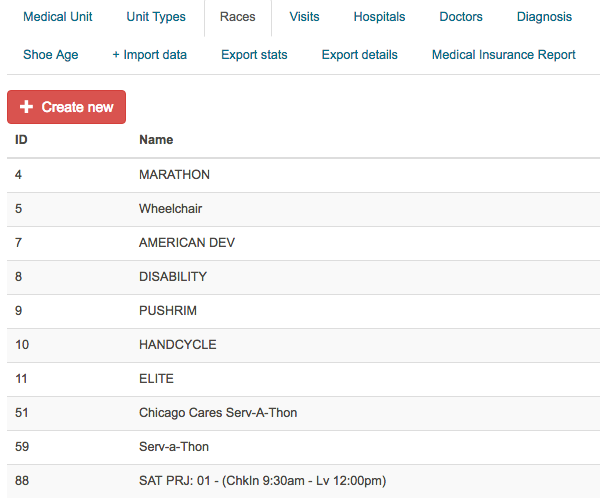
Create New
Click CREATE NEW button
Enter Race's name and description
Click SAVE button
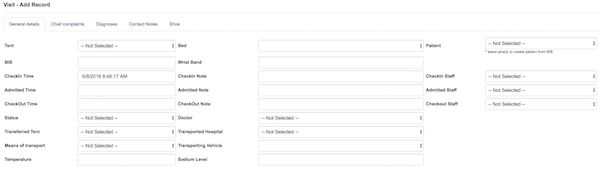
Visits
Overview races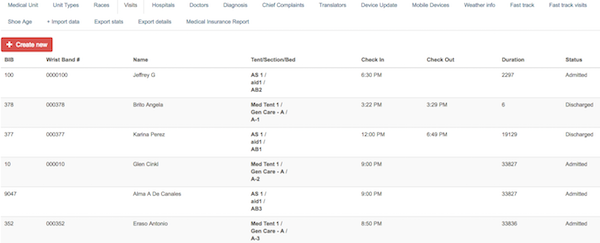
Create New
Click CREATE NEW button
Enter General details
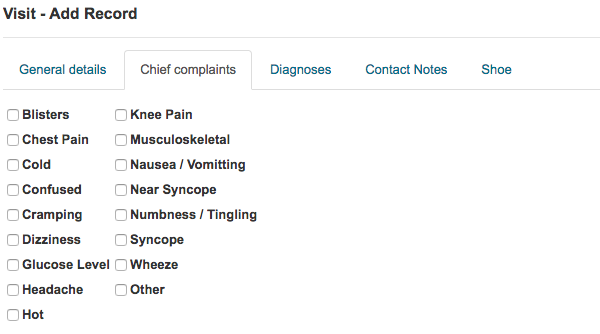
Select Chief complaints
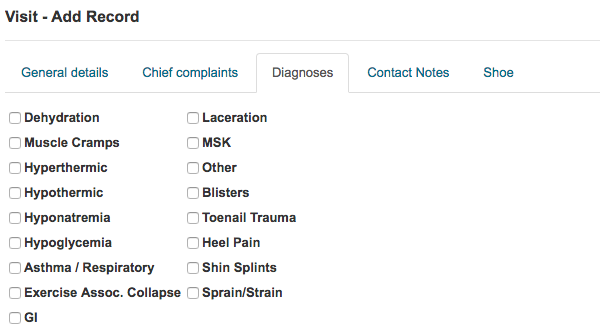
Select Diagnoses
Overview Contact Notes
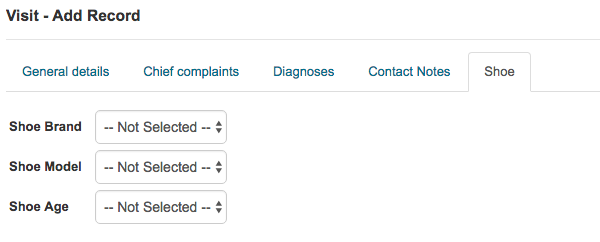
Select Shoe's brand, model and age
Click SAVE button
Hospitals
Overview hospitals
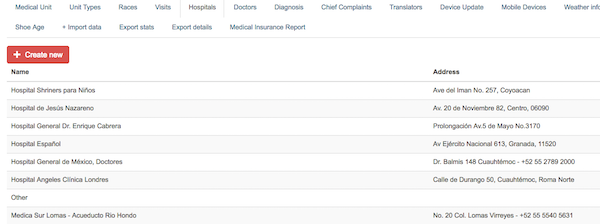
Create New
Click CREATE NEW button
Enter Hospital's name and address
Check checkbox if hospital is active
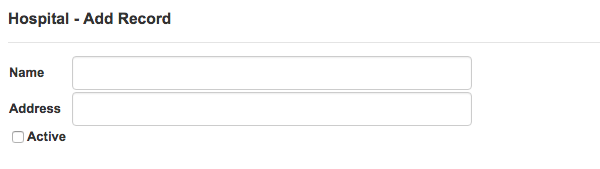
Click SAVE button
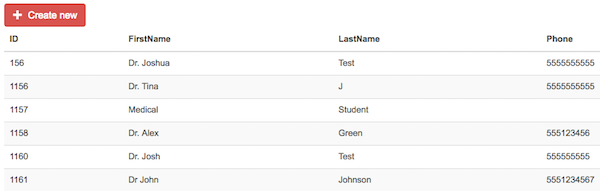
Doctors
Overview Doctors
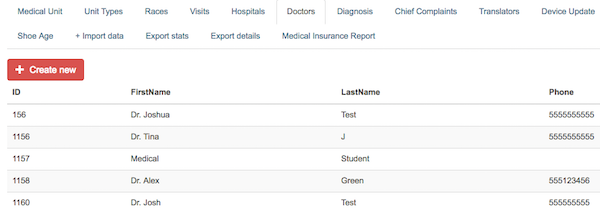
Create New
Click CREATE NEW button
Enter Doctor's name, phone number and email
Check checkbox if doctor is active
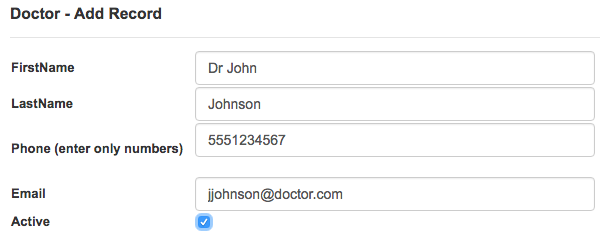
Click SAVE button
New doctor is created
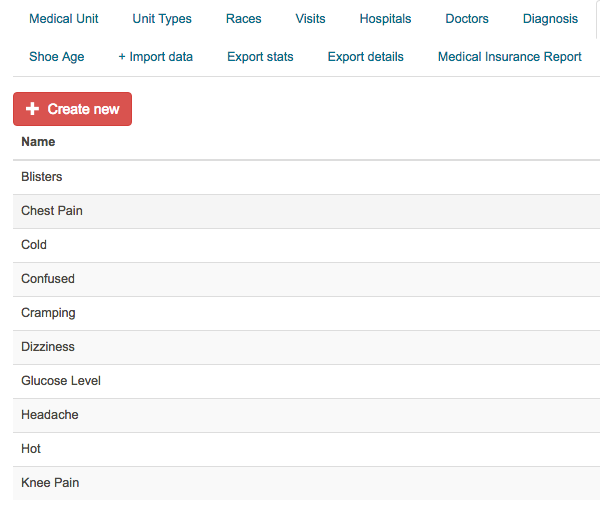
Diagnosis
Overview Diagnosis
Create New
Click CREATE NEW button
Enter Diagnosis name
Check checkbox if diagnose is active

Click SAVE button
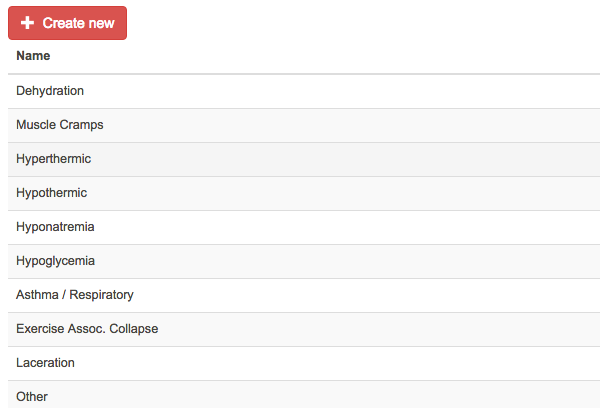
Chief Complaints
Overview Complaints
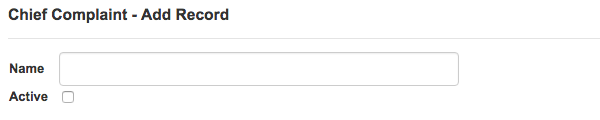
Create New
Click CREATE NEW button
Enter complaint's name
Check checkbox if complaint is active
Click SAVE button
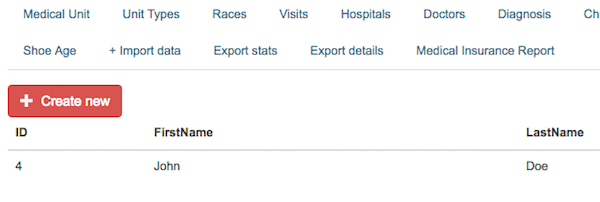
Translators
Go to MPTS-Settings and open TRANSLATORS tab
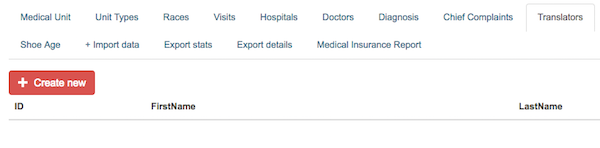
Create New
Click CREATE NEW button
Start to type translator's name and select translator from dropdown list
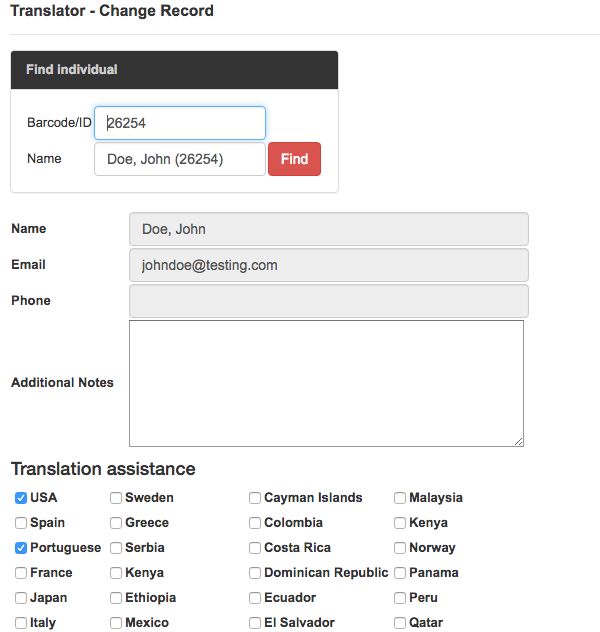
Click SAVE button
Translator is added to list
Device Update
Go to MPTS-Settings and open DEVICE UPDATE tab
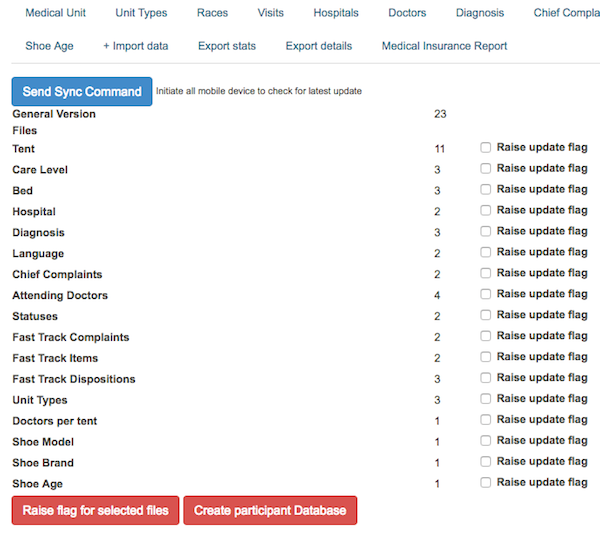
Click SEND SYNC COMMAND button to initiate all devices to check for latest update,
or select files by checking checkbox(es) and click RAISE FLAG FOR SELECTED FILES button
Weather Info
Go to MPTS-Settings and open WEATHER INFO tab
Create New
Click CREATE NEW button
Click GET WEATHER button or enter data manually
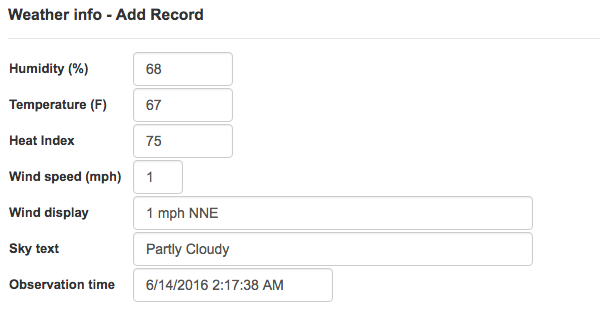
Click SAVE button
Weather Info is updated

Fast Track
Go to MPTS-Settings and open FAST TRACK tab
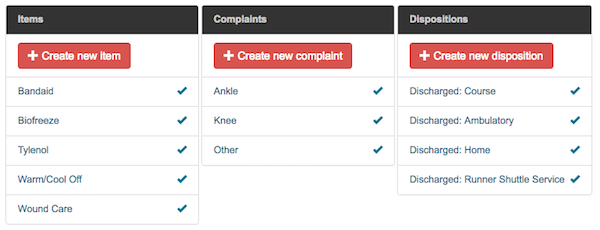
Create New
Click CREATE NEW ITEM (or COMPLAINT, or DISPOSITION) button Enter New Item's name, and check if new item is active

Click SAVE button
Procedure is the same for creating New Complaint or New Disposition
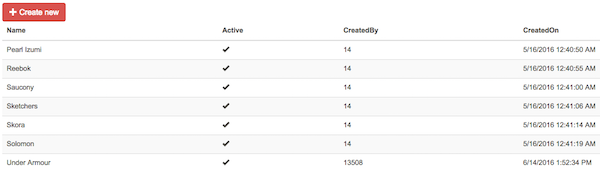
Shoe Brand
Go to MPTS-Settings and open SHOE BRAND tab
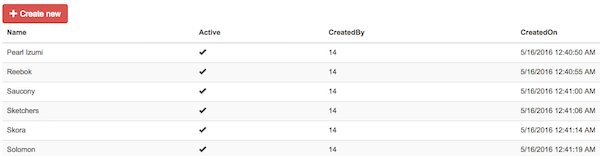
Create New
Click CREATE NEW button
Enter New brand's name, and check the checkbox to make it active

Click SAVE button
New brand is created
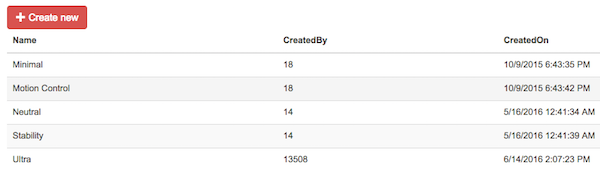
Shoe Model
Go to MPTS-Settings and open SHOE MODEL tab
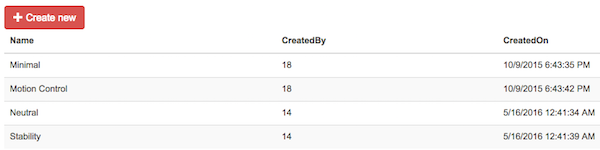
Create New
Click CREATE NEW button
Enter New model's name

Click SAVE button
New model is created
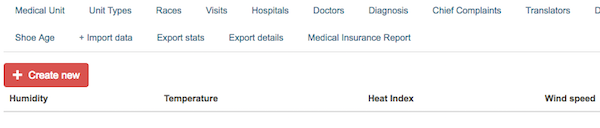
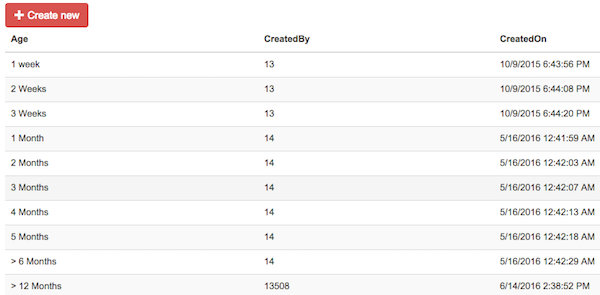
Shoe Age
Go to MPTS-Settings and open SHOE AGE tab
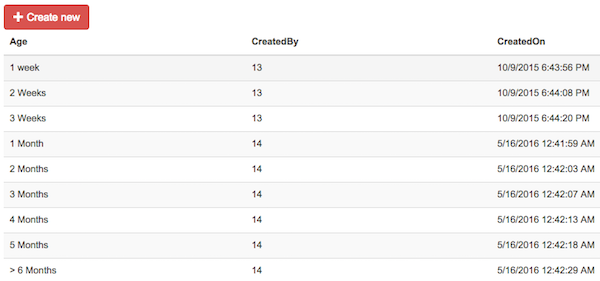
Create New
Click CREATE NEW button
Enter New category's name

Click SAVE button
New age category is created
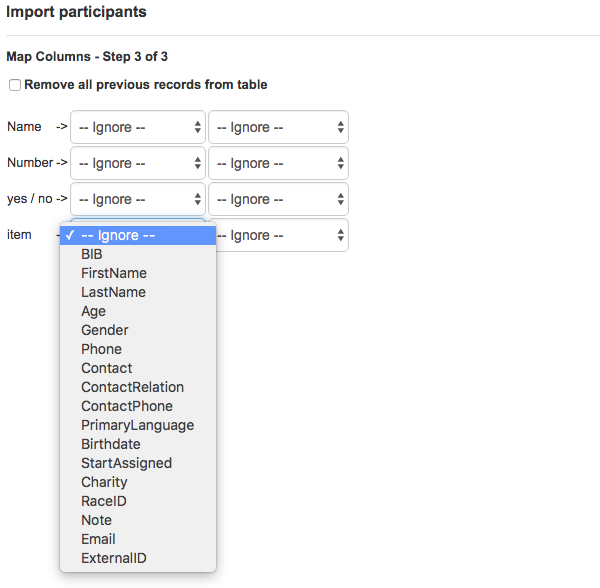
Import Data
To import participants into EMOS1/MPTS go to MPTS->Settings->+Import Data
Click CHOOSE FILE button to upload file from your computer.
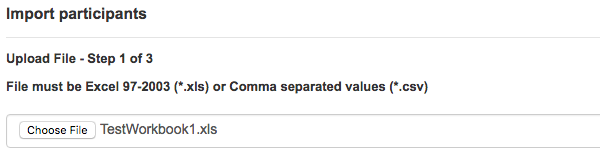
Select file and click NEXT button

Map columns and click IMPORT button
Export stats
Go to MPTS-Settings and open EXPORT STATS tab
Pop-up window will open.
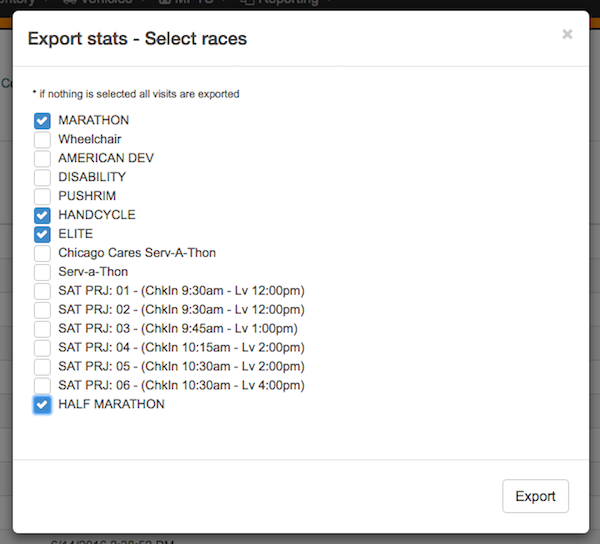
Select files to export and click EXPORT button
Files in .xlsx format will be automaticaly downloaded to your computer
Export details
Go to MPTS-Settings and open EXPORT DETAILS tab
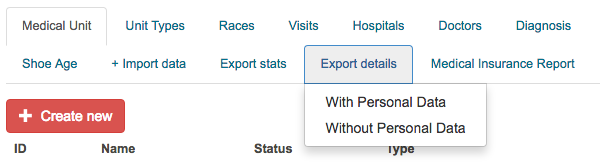
Select With personal data or Without personal data
File in .xlsx format will be automaticaly downloaded to your computer
Medical Insurance Report
Go to MPTS-Settings and click on MEDICAL INSURANCE REPORT tabReport in .xlsx format will be automaticaly downloaded to your computer
OVERVIEW
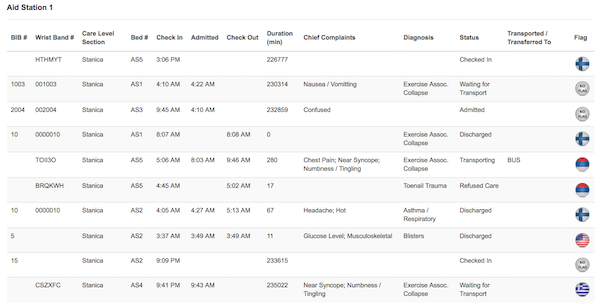
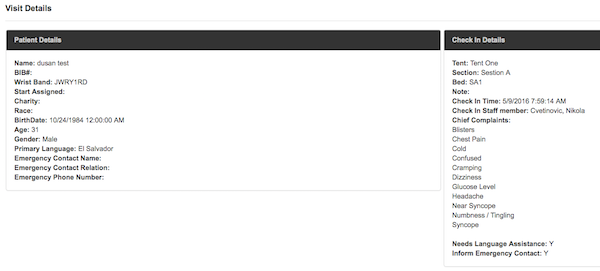
Occupancy
Go to MPTS-Summary and Occupancy tab will open
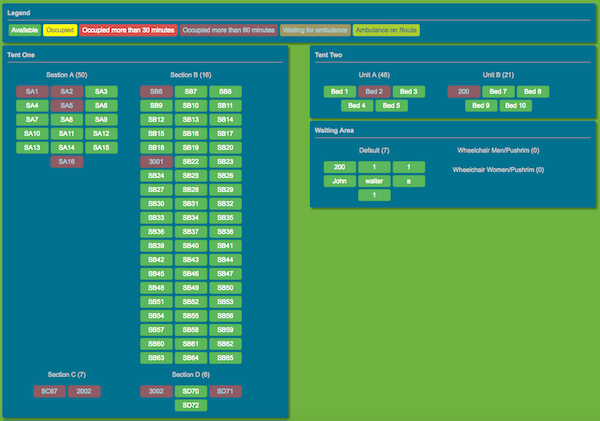
Click any occupied bed to check patient's details
Tents
Go to MPTS-Summary and click Tents tab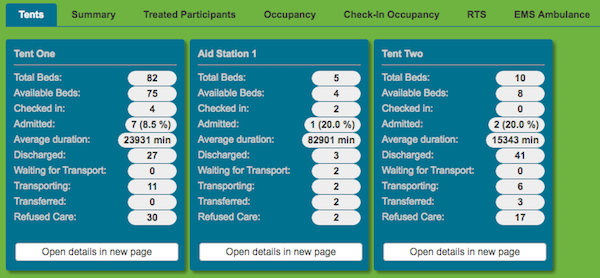
Click any OPEN DETAILS IN NEW PAGE for details