My Team
Staffing grid is a part of Staff module intended for approach to organizational tree in which could be used to: Create new Team, Add users to team, Create new user, Make requests...
Go to Staff-My Team
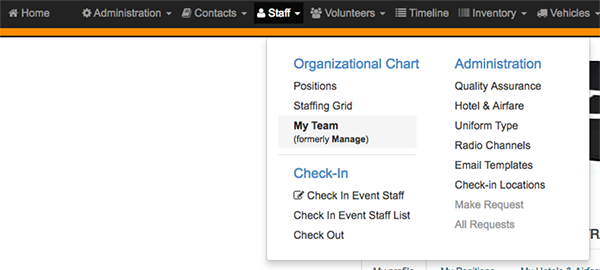
Image: My Team
Find your team on the organization tree or Create new team
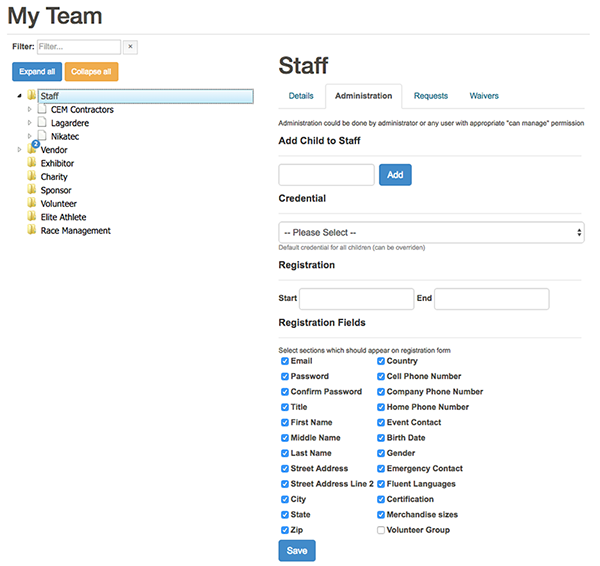
Image: Create new team
Create new Team
- Click desired organization unit (Staff, Vendor,Exhibitor, Sponsor...) and select Administration tab
- Enter your new team's name, select Credential, select registrations start and end dates and check fields required for registration.
- Click Save.
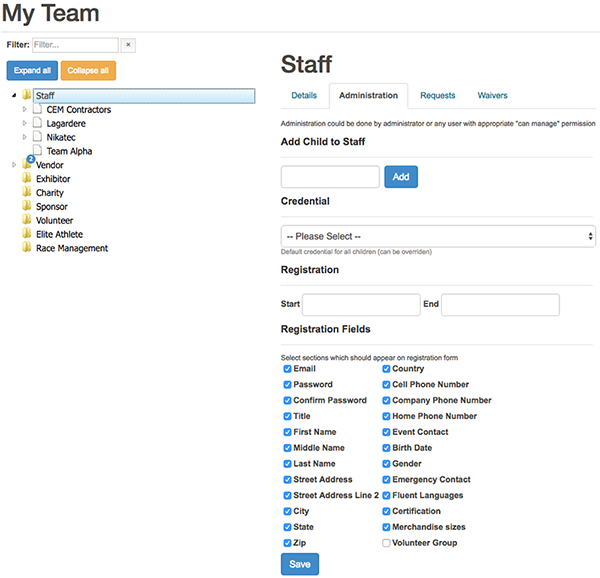
Image: Create new team
Add Users to Team
Select your team on the left and open ADD TO TEAM tab.
To add new user:
- Copy registration link and send it to users
- They need to click on registration link, enter data and to click REGISTER NEW ACCOUNT button
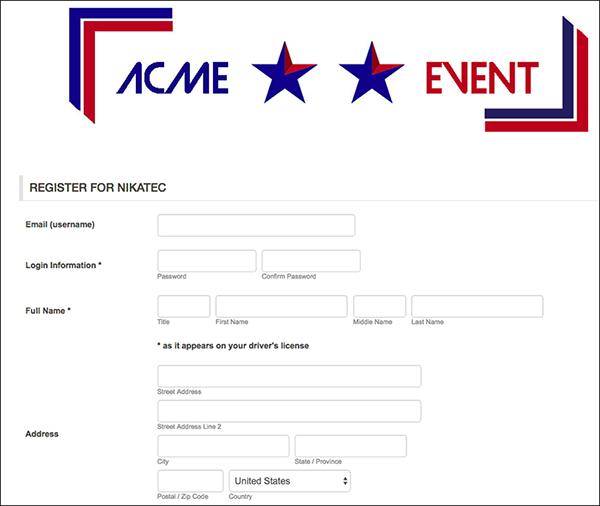
Image: Add new user
To add to team (for already registered users):
start typing user's name to search for existing user and press enter to add*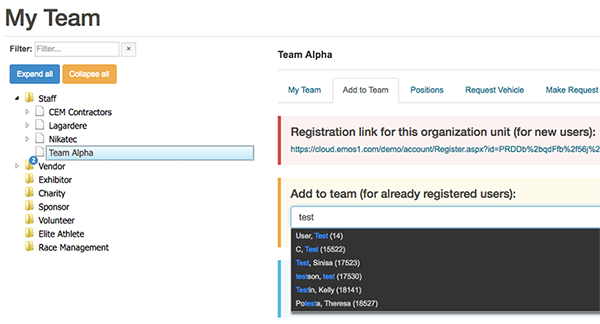
Image: Add user to team
To Create new user by yourself:
- Click CREATE NEW USER button
- Add User Information and click SAVE button
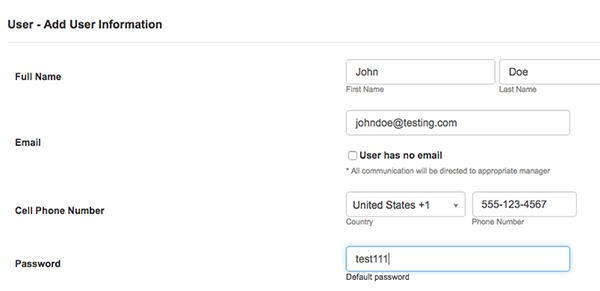
Image: Create new user
Import users:
- Click IMPORT USERS button and Import team from xls or csv file
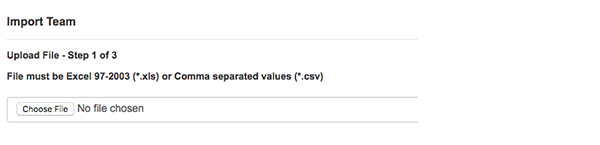
Image: Import users
Requests
Make Request
Go to Staff-Organizational Chart-My Team
Image: Select My Team
Expand desired organization unit by clicking arrow Select any group and select MY REQUESTS tab
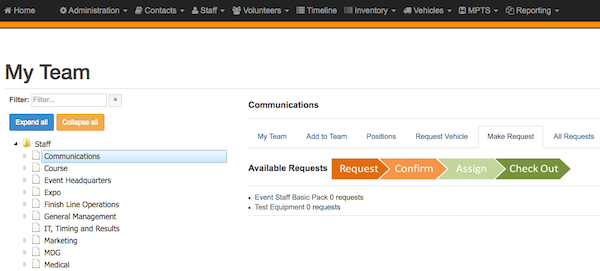
Image: My requests
Select Item category and enter quantity
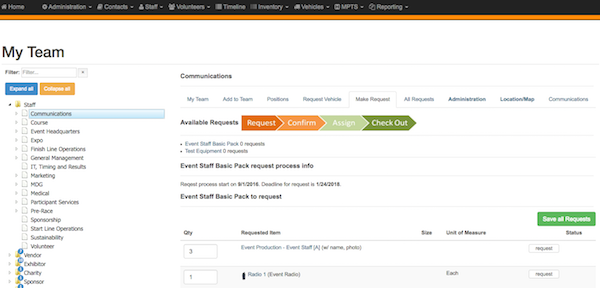
Image: Enter quantity
Click SAVE ALL REQUESTS button
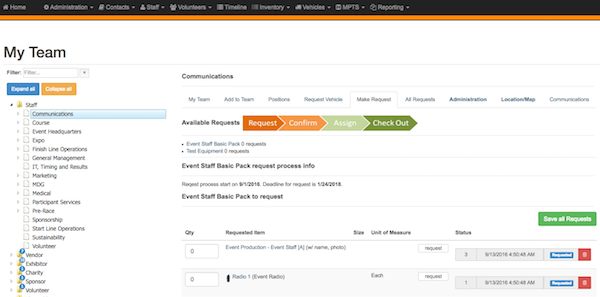
Image: Save requsts
Items are requested.
Repeat procedure for each Item category
All Requests
Select ALL REQUESTS tab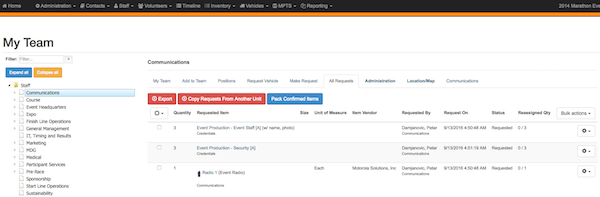
Image: All requests
Overview all requests and perform bulk or single item actions actions:
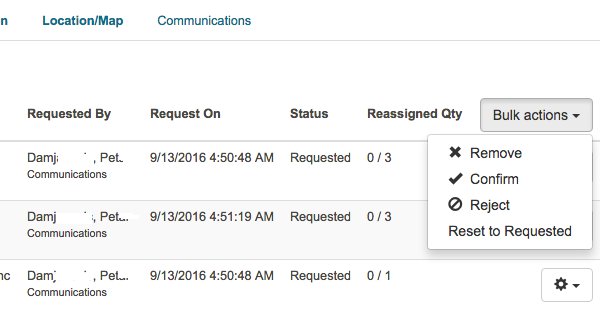
Image: Bulk actions
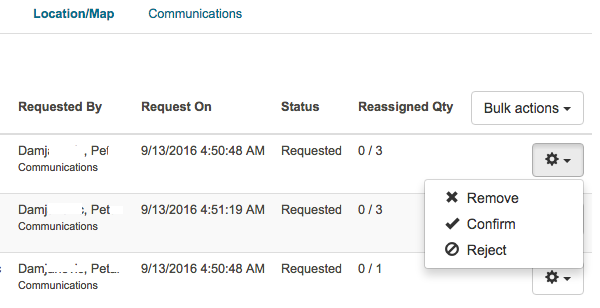
Image: Single item actions